
CEOs and business leaders, welcome to a transformative journey into secure email delivery within the Laravel framework, a realm of unparalleled security. In this comprehensive tutorial, we’ll explore the integration of PHPMailer and Google OAuth 2.0, empowering you to enhance your email delivery capabilities and ensure utmost reliability.
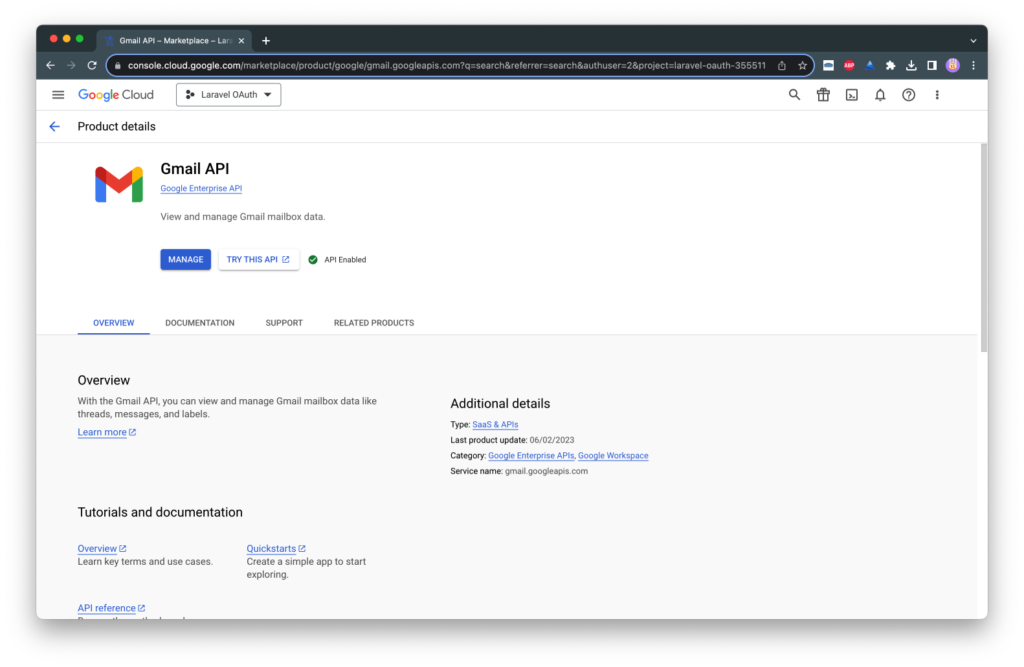
Our journey begins with the creation and configuration of a Google Cloud Project. Navigate to the Google Cloud Platform, where you can either create a new project or select an existing one. Once your project is ready, take the pivotal step of enabling the Gmail API. This API lays the foundation for secure email transmission within your Laravel application.
Next, we navigate to the OAuth Consent Screen, a crucial component in our quest for email excellence. This screen demands meticulous attention to detail, as it requires essential information such as the App Name, User Support Email, and Developer Contact Information. Follow the prompts, and as you proceed to the Summary Page, you’ll find the path back to the dashboard, where you can take the final step of publishing your OAuth App. Now just click the “PUBLISH APP” button to mark this significant milestone.


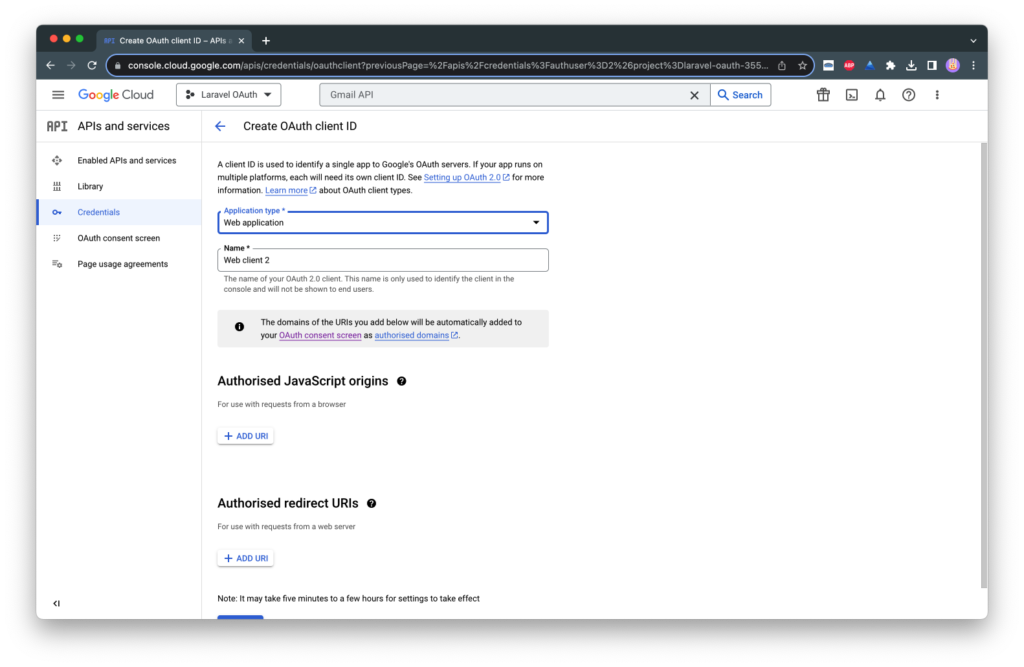
Now, venture into the Credentials Menu within the left sidebar. Click “CREATE CREDENTIAL” and opt for “OAuth Client ID” from the dropdown menu. Opt for “Web Application” as the Application type and assign a name to your OAuth 2.0 Client. Additionally, add Authorized Redirect URIs, which define the URL where you’ll securely obtain the token. After meticulously completing these fields, click the “CREATE” button. Don’t forget to securely store the Client ID and Client Secret; you’ll rely on them in the future.
Open your Laravel project within your preferred code editor (we recommend VSCode). To integrate PHPMailer and Google OAuth, you’ll need to employ Composer to install two essential libraries:
With these libraries at your disposal, navigate to your .env file and diligently insert the Client ID and Client Secret you secured earlier. Subsequently, proceed to configure routes and blade files, with all necessary code conveniently available in our dedicated GitHub repository. As an additional step, create routes to efficiently handle requests for obtaining and posting tokens from Google OAuth.
// Required Routes
Route::prefix('/')->group(function() {
    Route::view('home', 'home')->name('home');
    // Generate Token
    Route::post('/token', [OAuthController::class, 'doGenerateToken'])->name('generate.token');
    // Get Token
    Route::get('/token', [OAuthController::class, 'doSuccessToken'])->name('token.success');
    // Send Email
    Route::post('/send', [MailController::class, 'doSendEmail'])->name('send.email');
}); For a visual guide and an immersive, step-by-step experience of this entire process, we’ve created a YouTube tutorial. Witness each step in action and enhance your understanding:
And with that, you’re fully equipped to send emails securely and seamlessly from your Laravel application. Just navigate to your homepage and confidently click the “Send” button—your emails will effortlessly find their way to your inbox.
With this comprehensive guide and our engaging YouTube tutorial, you’ve masterfully integrated PHPMailer and Google OAuth 2.0 into your Laravel 10 project. The result? A heightened level of trust, authentication, and security in every email you send. Elevate your email game, and embrace the future of Laravel email delivery. Happy emailing!
The integration of Google OAuth 2.0 with Laravel ensures secure and authenticated email delivery. It adds an extra layer of trust and authenticity to your outgoing emails, reducing the chances of them being flagged as spam.
Yes, a Google Cloud Project is essential for enabling the Gmail API, a crucial component of secure email delivery in Laravel using OAuth 2.0.
PHPMailer is a versatile and reliable email library that simplifies the process of sending emails in Laravel. It supports various sending methods, including SMTP, making it a preferred choice for email delivery in Laravel projects.
You can find all the necessary code and configuration files for integrating PHPMailer and Google OAuth 2.0 into your Laravel project on our dedicated GitHub repository.
To test your email functionality, simply visit your Laravel application’s homepage and click the “Send” button. This action will trigger the email-sending process, and you should receive the email in your designated inbox. Ensure that your .env file is correctly configured with the required Gmail SMTP credentials.